


A cracked toilet tank is a common plumbing problem that can cause a lot of frustration for homeowners. It can lead to water damage on your bathroom floor, and if left unfixed, it can also increase your water bills. However, fixing a cracked toilet tank is not too difficult if you have some basic tools and DIY knowledge. In this article, we’ll provide you with a step-by-step guide on how to fix a cracked toilet tank like a pro.
Why a Cracked Toilet Tank is a Problem
A cracked toilet tank can cause a lot of problems for homeowners. First and foremost, it can lead to water leakage which can damage your bathroom floor and the surrounding areas. Additionally, a cracked toilet tank can also lead to higher water bills as water continues to leak out of the tank. If left unfixed, the crack can worsen and cause more damage to your toilet.
Safety Precautions Before Fixing
Before you start fixing your cracked toilet tank, it’s important to take safety precautions to prevent any accidents. Firstly, turn off the water supply to the toilet to prevent any water leakage. You can do this by turning off the valve located behind the toilet. Next, drain the toilet tank by flushing it a few times. This will ensure that there is no water left in the tank before you start working on it. Finally, wear safety gloves and goggles to protect your hands and eyes from any chemicals or sharp objects that you may encounter.
Tools and Materials Needed
To fix a cracked toilet tank, you’ll need a few basic tools and materials. These include: – A replacement toilet tank or a toilet tank repair kit – A wrench – A screwdriver – A putty knife – Plumbers tape – Epoxy resin – Sandpaper
Steps to Fix a Cracked Toilet Tank
Step 1: Identify the Crack The first step to fixing a cracked toilet tank is to identify the location of the crack. You may need to remove the tank lid to get a better view of the crack. Look for any hairline cracks or deep cracks that are leaking water.
Step 2: Drain the Tank Before you start working on the tank, drain all the water out of it. You can do this by flushing the toilet a few times or using a wet-dry vacuum to remove the water.
Step 3: Remove the Tank Next, you’ll need to remove the tank from the toilet bowl. To do this, first, turn off the water supply to the toilet. Then, use a wrench to loosen the nuts that connect the tank to the bowl. Once the nuts are loosened, lift the tank off the bowl and place it on a flat surface.
Step 4: Repair the Crack If the crack is minor, you can use epoxy resin to repair it. Apply the epoxy resin to the crack and use a putty knife to smooth it out. Let the epoxy dry completely before reassembling the tank. If the crack is deep or extensive, you may need to replace the tank or use a toilet tank repair kit.
Step 5: Reassemble the Tank Once the crack is repaired or the tank is replaced, reassemble the tank. Place the tank back on the bowl and tighten the nuts using a wrench. Finally, connect the water supply to the toilet and turn it on.
Alternative Fixes for Minor Cracks
If the crack in your toilet tank is minor, you can also try using plumbers tape to fix it. To do this, first, drain the tank and dry the area around the crack. Apply a layer of plumbers tape over the crack and smooth it out with a putty knife. Then, apply a layer of epoxy resin over the tape and let it dry. This will create a watertight seal over the crack, preventing any water leakage.
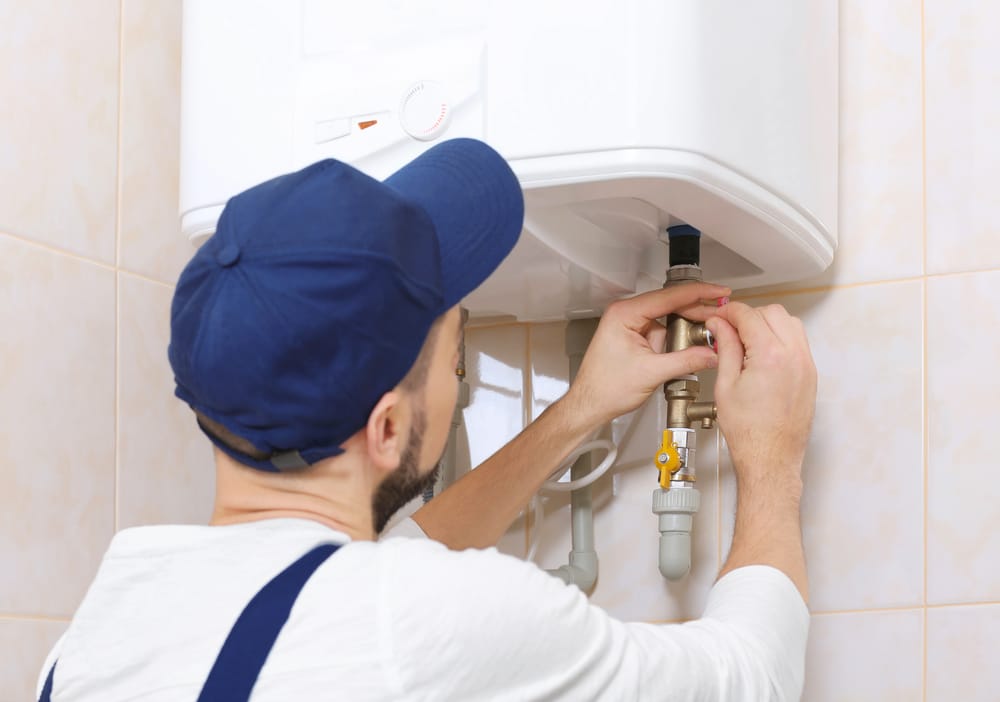
When to Call a Professional Plumber
If you’re not confident in your DIY skills, or if the crack in your toilet tank is extensive, it’s best to call a professional plumber. They have the experience and tools needed to fix the crack and ensure that your toilet is working properly. Additionally, if you notice any other problems with your toilet, such as clogging or slow flushing, it’s best to call a plumber to prevent any further damage.
Preventing Cracks in the Future
To prevent cracks in your toilet tank in the future, there are a few simple steps you can take. Firstly, avoid flushing any hard objects down the toilet, such as toys or sanitary products. These can cause damage to the tank and lead to cracks. Additionally, avoid using harsh chemicals or abrasive cleaners on your toilet, as these can also cause damage. Finally, schedule regular maintenance checks with a professional plumber to ensure that your toilet is in good condition.
Frequently Asked Questions about Fixing a Cracked Toilet Tank
Q: Can I still use my toilet if the tank is cracked?
A: It’s best to avoid using your toilet if the tank is cracked, as this can lead to water leakage and further damage.
Q: Can I fix a cracked toilet tank myself?
A: Yes, you can fix a cracked toilet tank yourself if you have some basic tools and DIY knowledge.
Q: How do I know if my toilet tank needs to be replaced?
A: If the crack in your toilet tank is extensive or if there are multiple cracks, it’s best to replace the tank.
Q: Can I prevent cracks in my toilet tank?
A: Yes, you can prevent cracks in your toilet tank by avoiding flushing hard objects down the toilet, using gentle cleaners, and scheduling regular maintenance checks with a professional plumber.
Conclusion
Fixing a cracked toilet tank may seem like a daunting task, but it’s actually a simple DIY project that can be accomplished with some basic tools and knowledge. By following the steps outlined in this article, you can repair your cracked toilet tank and prevent any further damage. Remember to take safety precautions before starting any DIY project, and if you’re unsure about anything, don’t hesitate to call a professional plumber. With these tips, you can keep your toilet in good condition and avoid any costly plumbing problems in the future.