


Are you tired of dealing with a leaky or outdated shower faucet? Look no further! In this no-hassle guide, Resolution Plumbing Las Vegas is here to help you replace your shower faucet with ease. Whether you’re a DIY enthusiast or a homeowner looking to save some money, this step-by-step guide will walk you through the entire process. Say goodbye to expensive plumber bills and hello to a brand-new, stylish shower fixture. From gathering the necessary tools to removing the old faucet and installing the new one, we’ve got you covered. Our expert team of plumbers has years of experience and is ready to share their knowledge with you. So, grab your tools and let’s get started on upgrading your shower faucet today!
Why should you replace your shower faucet?
Your shower faucet plays a crucial role in your daily routine, and over time, it can start to show signs of wear and tear. There are several reasons why you might consider replacing your shower faucet. Firstly, if you’re experiencing a constant drip or leak, it’s a clear indication that your faucet is no longer functioning properly. Not only is this annoying, but it also wastes water and can lead to higher utility bills. Additionally, an outdated shower faucet can detract from the overall aesthetic of your bathroom. By replacing it with a new, modern fixture, you can instantly upgrade the look and feel of your shower space. Lastly, if your current faucet is difficult to operate or doesn’t provide consistent water temperature, it’s time for an upgrade. Investing in a new shower faucet will ensure a more enjoyable and comfortable shower experience.
Signs that it’s time to replace your shower faucet
Before diving into the replacement process, it’s important to identify whether your shower faucet truly needs to be replaced. Here are some common signs that indicate it’s time for an upgrade. Firstly, if you notice a constant drip or leak, even after tightening the faucet handles, it’s a clear sign of internal damage. This can be caused by worn-out seals or faulty parts. Another indication is if your shower faucet is difficult to turn on or off. Over time, the internal components can become worn or corroded, making it challenging to operate. Additionally, if you’re experiencing inconsistent water temperature, it may be due to a malfunctioning mixing valve within the faucet. Lastly, if your shower faucet is outdated and doesn’t match the rest of your bathroom decor, it’s a good idea to replace it for a more cohesive look.
Tools and materials needed for replacing a shower faucet
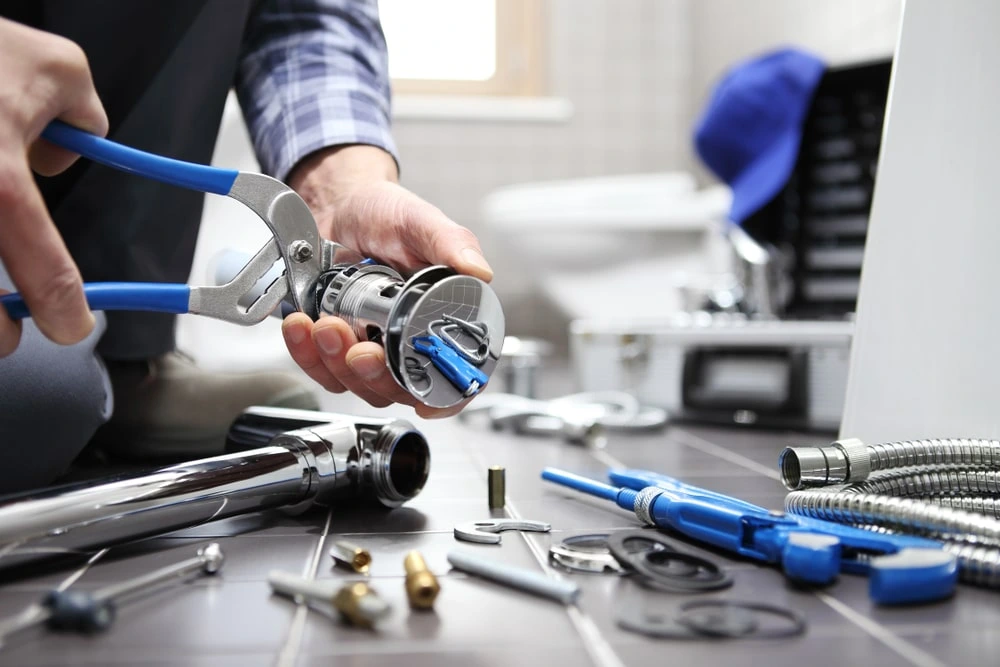
Before you begin the replacement process, it’s essential to gather all the necessary tools and materials. Having everything on hand will make the process much smoother and more efficient. Here’s a list of what you’ll need: – Adjustable wrench – Screwdriver (Phillips and flathead) – Plumber’s tape – New shower faucet – Bucket or towel to catch any water – Towels or rags for cleanup – Silicone caulk (if needed) – Safety goggles (optional) – Gloves (optional)
Make sure to have these tools readily available before starting the replacement process. You don’t want to be running back and forth looking for something while in the middle of the project. Once you have everything, you’re ready to move on to the next step.
Step-by-step guide to replacing a shower faucet
Now that you have all the necessary tools and materials, it’s time to dive into the step-by-step process of replacing your shower faucet. Follow these instructions carefully to ensure a successful and hassle-free installation.
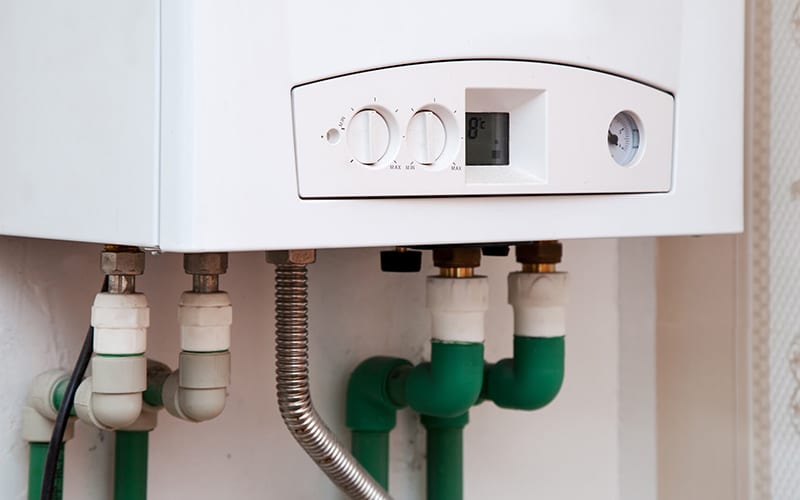
- Turn off the water supply: Start by shutting off the water supply to your shower. Locate the main water valve for your house and turn it off to prevent any water flow during the replacement process. This will ensure a dry and safe working environment.
- Remove the old faucet handles: Use a screwdriver to remove the screws holding the faucet handles in place. Once the screws are removed, gently pull the handles away from the wall, exposing the valve stems.
- Remove the old valve stems: Using an adjustable wrench, loosen and remove the nuts securing the valve stems. Once the nuts are removed, carefully pull out the old valve stems from the wall. Be cautious not to damage any surrounding tiles or plumbing.
- Clean the area: Take this opportunity to clean the exposed pipes and surrounding area. Remove any debris, old caulk, or buildup that may have accumulated over time.
- Install the new valve stems: Apply plumber’s tape to the threads of the new valve stems to ensure a watertight seal. Insert the stems into the wall, aligning them with the hot and cold water pipes. Tighten the nuts securely to hold the stems in place.
- Attach the new faucet handles: Slide the new faucet handles onto the valve stems and secure them with the screws. Make sure they are tight and properly aligned.
- Test for leaks: Before moving on, it’s crucial to test for any potential leaks. Turn on the water supply and check for any water dripping from the new faucet. If you notice any leaks, tighten the connections or replace any faulty parts.
- Reinstall any additional components: If your shower faucet includes a showerhead or other accessories, now is the time to reinstall them. Follow the manufacturer’s instructions for proper installation.
- Clean up and enjoy your new faucet: Once everything is securely in place and there are no leaks, clean up any excess debris and turn on the water supply. Enjoy your newly replaced shower faucet and the upgraded functionality and aesthetics it brings to your bathroom.
Common challenges and how to overcome them
While replacing a shower faucet may seem like a straightforward process, there can be some challenges along the way. Here are a few common issues you may encounter and how to overcome them:
- Stuck or corroded parts: If the old valve stems or nuts are rusted or difficult to remove, apply penetrating oil and let it sit for a few minutes. This will help loosen the stuck parts and make removal easier.
- Mismatched plumbing connections: In some cases, the new valve stems may not align perfectly with the existing plumbing connections. If this happens, you may need to make slight adjustments or use adapters to ensure a proper fit.
- Leaks: If you notice any leaks after installation, double-check all the connections and tighten them if necessary. If the leaks persist, consider replacing any faulty parts or seeking professional help.
By being aware of these potential challenges and having the necessary tools and knowledge, you can overcome them and successfully replace your shower faucet.
Tips for maintaining your new shower faucet
Now that you have installed your new shower faucet, it’s important to take proper care of it to ensure longevity and optimal performance. Here are some tips for maintaining your new fixture:
- Regular cleaning: Clean your shower faucet regularly to remove any soap scum, mineral deposits, or buildup. Use a mild soap and a soft cloth to gently wipe the surface. Avoid harsh chemicals or abrasive cleaning agents that can damage the finish.
- Check for leaks: Periodically check for any leaks or drips from the faucet. If you notice any, address them promptly to prevent further damage or water wastage.
- Avoid excessive force: When operating your new shower faucet, avoid using excessive force to turn it on or off. This can lead to premature wear and damage to the internal components.
- Replace worn-out parts: Over time, certain parts of your shower faucet may become worn or damaged. If you notice any signs of malfunction, such as inconsistent water flow or temperature, consider replacing the affected parts.
By following these maintenance tips, you can keep your new shower faucet in excellent condition for years to come.
Benefits of hiring a professional plumber for faucet replacement
While replacing a shower faucet can be a DIY project, there are several benefits to hiring a professional plumber for the job. Here are a few reasons why you might consider enlisting the help of an expert:
- Experience and expertise: Professional plumbers have years of experience and knowledge in faucet replacement. They can ensure a proper and efficient installation, minimizing the risk of leaks or other issues.
- Time-saving: Hiring a professional plumber saves you time and effort. They have the necessary tools and expertise to complete the job quickly and efficiently, allowing you to focus on other tasks or enjoy your day.
- Guaranteed results: Professional plumbers stand behind their work and often offer guarantees or warranties on their services. This provides peace of mind, knowing that any potential issues will be addressed promptly and at no additional cost.
- Advice and recommendations: Plumbers can provide valuable advice and recommendations on choosing the right faucet for your needs. They can guide you through the selection process and ensure compatibility with your existing plumbing system.
While hiring a professional plumber may involve an additional cost, the benefits and peace of mind they provide make it a worthwhile investment for many homeowners.
Frequently asked questions about shower faucet replacement
Here are some common questions homeowners have about replacing a shower faucet:
Q: How long does it take to replace a shower faucet?
A: The time required to replace a shower faucet depends on various factors, such as the complexity of the installation and any unforeseen issues that may arise. On average, it can take anywhere from 1 to 4 hours.
Q: Can I replace a shower faucet myself?
A: Yes, replacing a shower faucet can be a DIY project. However, it requires some plumbing knowledge and the right tools. If you’re not confident in your abilities or encounter any difficulties, it’s best to seek professional help.
Q: How often should I replace my shower faucet?
A: The lifespan of a shower faucet can vary depending on usage, water quality, and maintenance. On average, a well-maintained faucet can last anywhere from 10 to 20 years. However, if you notice any signs of malfunction or significant wear, it’s a good idea to consider replacement.
Q: Can I use my existing showerhead with a new faucet?
A: In most cases, you can use your existing showerhead with a new faucet. However, it’s important to ensure compatibility and proper installation. If you’re unsure, consult a professional plumber for advice.
Q: Do I need to shut off the water supply for the entire house during faucet replacement?
A: It’s recommended to shut off the main water supply for the house during faucet replacement to prevent any water flow. This ensures a safe working environment and prevents any potential water damage.
If you have any additional questions or concerns about replacing your shower faucet, don’t hesitate to reach out to a professional plumber for guidance and assistance.
Conclusion
Replacing your shower faucet doesn’t have to be a daunting task. By following this no-hassle guide, you can confidently tackle the project and enjoy the benefits of a brand-new, stylish shower fixture. Remember to gather all the necessary tools and materials, carefully follow the step-by-step instructions, and address any challenges that may arise. Whether you choose to tackle the project yourself or hire a professional plumber, the end result will be a functional and aesthetically pleasing shower faucet that enhances your daily shower experience. So, say goodbye to leaks and outdated fixtures and say hello to a revitalized shower space that you can enjoy for years to come. Happy faucet replacement!