


When it comes to household plumbing, replacing a toilet handle might seem like a daunting task. However, with the right tools and a little bit of know-how, it’s actually a quick and easy DIY project that anyone can tackle. Whether your toilet handle is broken, loose, or just outdated, replacing it can give your bathroom a fresh look and improve the functionality of your toilet. In this guide, we’ll walk you through the steps to replace a toilet handle, including how to remove the old handle, choose a new one, and install it properly. So, roll up your sleeves and let’s get started!
Understanding the Toilet Handle
The toilet handle is the lever that is located on the outside of the toilet tank. Its primary function is to lift the flapper and release the water into the bowl when you flush. Toilet handles come in a variety of shapes, sizes, and materials, and they can be located on the left or right side of the toilet tank. Some toilet handles are also designed to be decorative, adding a touch of style to your bathroom.
Signs that Your Toilet Handle Needs to be Replaced
There are a few signs to look out for that indicate your toilet handle needs to be replaced. One of the most common signs is a loose or wobbly handle. If the handle is loose, it can be difficult to flush the toilet or it may not flush at all. Another sign is a broken handle. If the handle is broken, it won’t be able to lift the flapper and release the water, which means the toilet won’t flush. Finally, if your toilet handle is outdated or doesn’t match the rest of your bathroom fixtures, it may be time to replace it to give your bathroom a fresh look.
Tools Needed to Replace a Toilet Handle
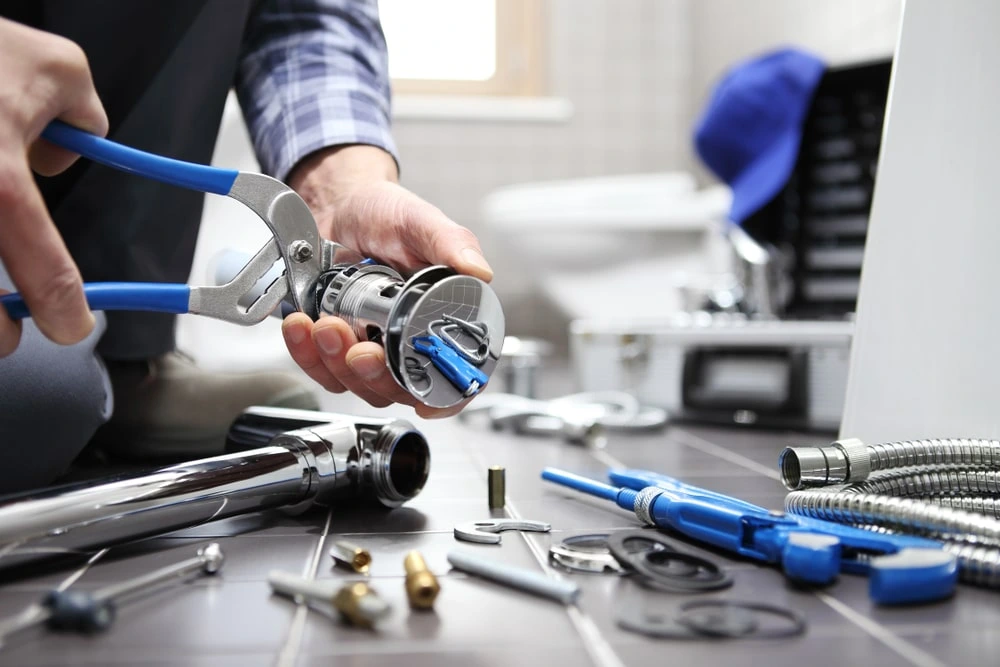
Before you get started, you’ll need to gather a few tools. You’ll need a pair of pliers, a wrench, a new toilet handle, and a screwdriver. Make sure to choose a new toilet handle that is compatible with your toilet model. You can find this information in your toilet’s owner’s manual or by contacting the manufacturer.
Step-by-Step Guide on How to Replace a Toilet Handle
- Turn off the water supply: The first step is to turn off the water supply to the toilet. Look for the shut-off valve located on the wall behind the toilet and turn it clockwise to shut off the water.
- Remove the old toilet handle: Use a pair of pliers to loosen the nut located on the inside of the toilet tank that holds the toilet handle in place. Once the nut is loosened, you should be able to remove the old handle.
- Install the new toilet handle: Take the new toilet handle and insert it into the hole in the tank where the old handle was located. Secure it in place with the nut you removed earlier. Tighten the nut with a wrench to ensure a snug fit, but be careful not to overtighten it.
- Reconnect the chain: Take the chain that is connected to the flapper and attach it to the new toilet handle. Adjust the chain length as needed so that the handle lifts the flapper easily.
- Turn on the water supply: Once everything is in place, turn the water supply back on by turning the shut-off valve counterclockwise. Test the new toilet handle by flushing the toilet to make sure everything is working properly.
Troubleshooting Common Issues with Toilet Handles
If you’re having trouble with your toilet handle, there are a few things you can try before replacing it. One common issue is a loose handle. If the handle is loose, try tightening the nut that holds it in place. If the handle is still loose, you may need to replace it. Another common issue is a handle that is difficult to flush. This can be caused by a chain that is too long or too short. Adjust the chain length as needed to ensure the handle lifts the flapper easily.
Tips for Maintaining Your Toilet Handle
To keep your toilet handle in good condition, it’s important to clean it regularly. Use a mild cleaner and a soft cloth to wipe down the handle and remove any dirt or grime. You should also inspect the handle periodically to make sure it’s secure and not showing signs of wear and tear. If you notice any issues, address them promptly to avoid more serious problems down the line.
Alternative Toilet Handle Options
If you’re looking to upgrade your toilet handle, there are a few alternative options to consider. One popular option is a dual-flush toilet handle, which allows you to choose between a low-flow and high-flow flush depending on your needs. Another option is a touchless toilet handle, which uses sensors to detect when you’re flushing and eliminates the need for a traditional handle altogether.
Conclusion
Replacing a toilet handle might seem like a daunting task, but with the right tools and a little bit of know-how, it’s actually a quick and easy DIY project. Follow the steps outlined in this guide to remove your old toilet handle, choose a new one, and install it properly. By doing so, you can give your bathroom a fresh look and improve the functionality of your toilet.
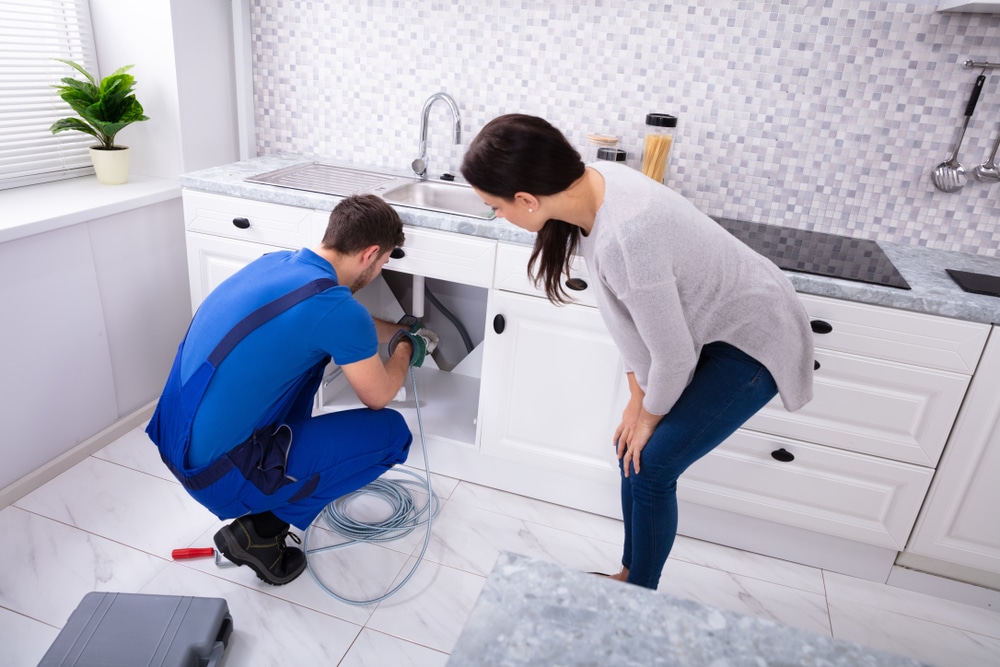
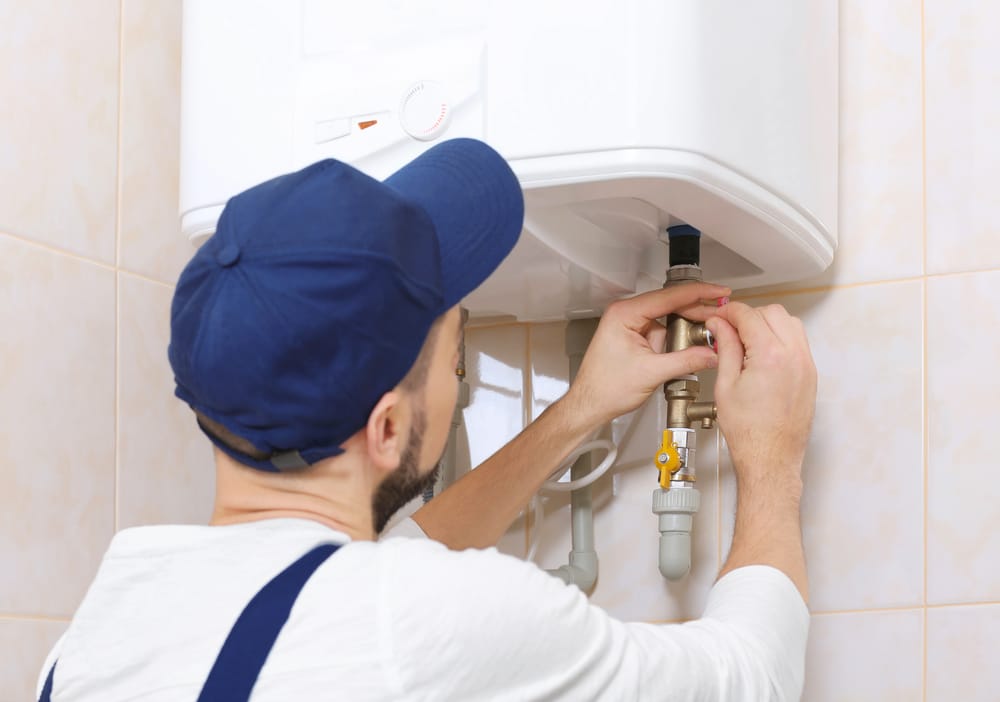
Benefits Of Hiring A Local Plumber
If the task of fixing your plumbing issues seems daunting, it may be beneficial to hire a local plumber. Despite your ability to repair minor problems, a skilled plumber can thoroughly examine your plumbing system for more complex issues. They possess the expertise and tools to complete the job quickly and efficiently, saving you time and effort. Furthermore, they can adeptly manage any unforeseen circumstances that may arise during the job, eliminating the need for research or additional assistance. By hiring a local plumber, you can trust that you’ll receive professional solutions and reassurance that your plumbing system is in good hands.